
I hope guys have been following along with my renovation project this last 6 months.....I've shown you some of the beautiful light fixtures from Circa Lighting....wallpaper from Thibaut, Cole and Son and the gorgeous pewter table from Francois.
Besides doing Michael's home this project has been a dream. A gorgeous Brookhaven house totally gutted....moving walls....finishing out a terrace level, all new bathrooms [7] and kitchen.
I have been channeling my inner "Suzanne Kasler" for that classic neutral look!
I think the only area that was untouched were the saltillo tiles in the foyer. The problem was after we got close to finishing we determined that they were too orange for the direction we took!
You know what I'm talking about right?
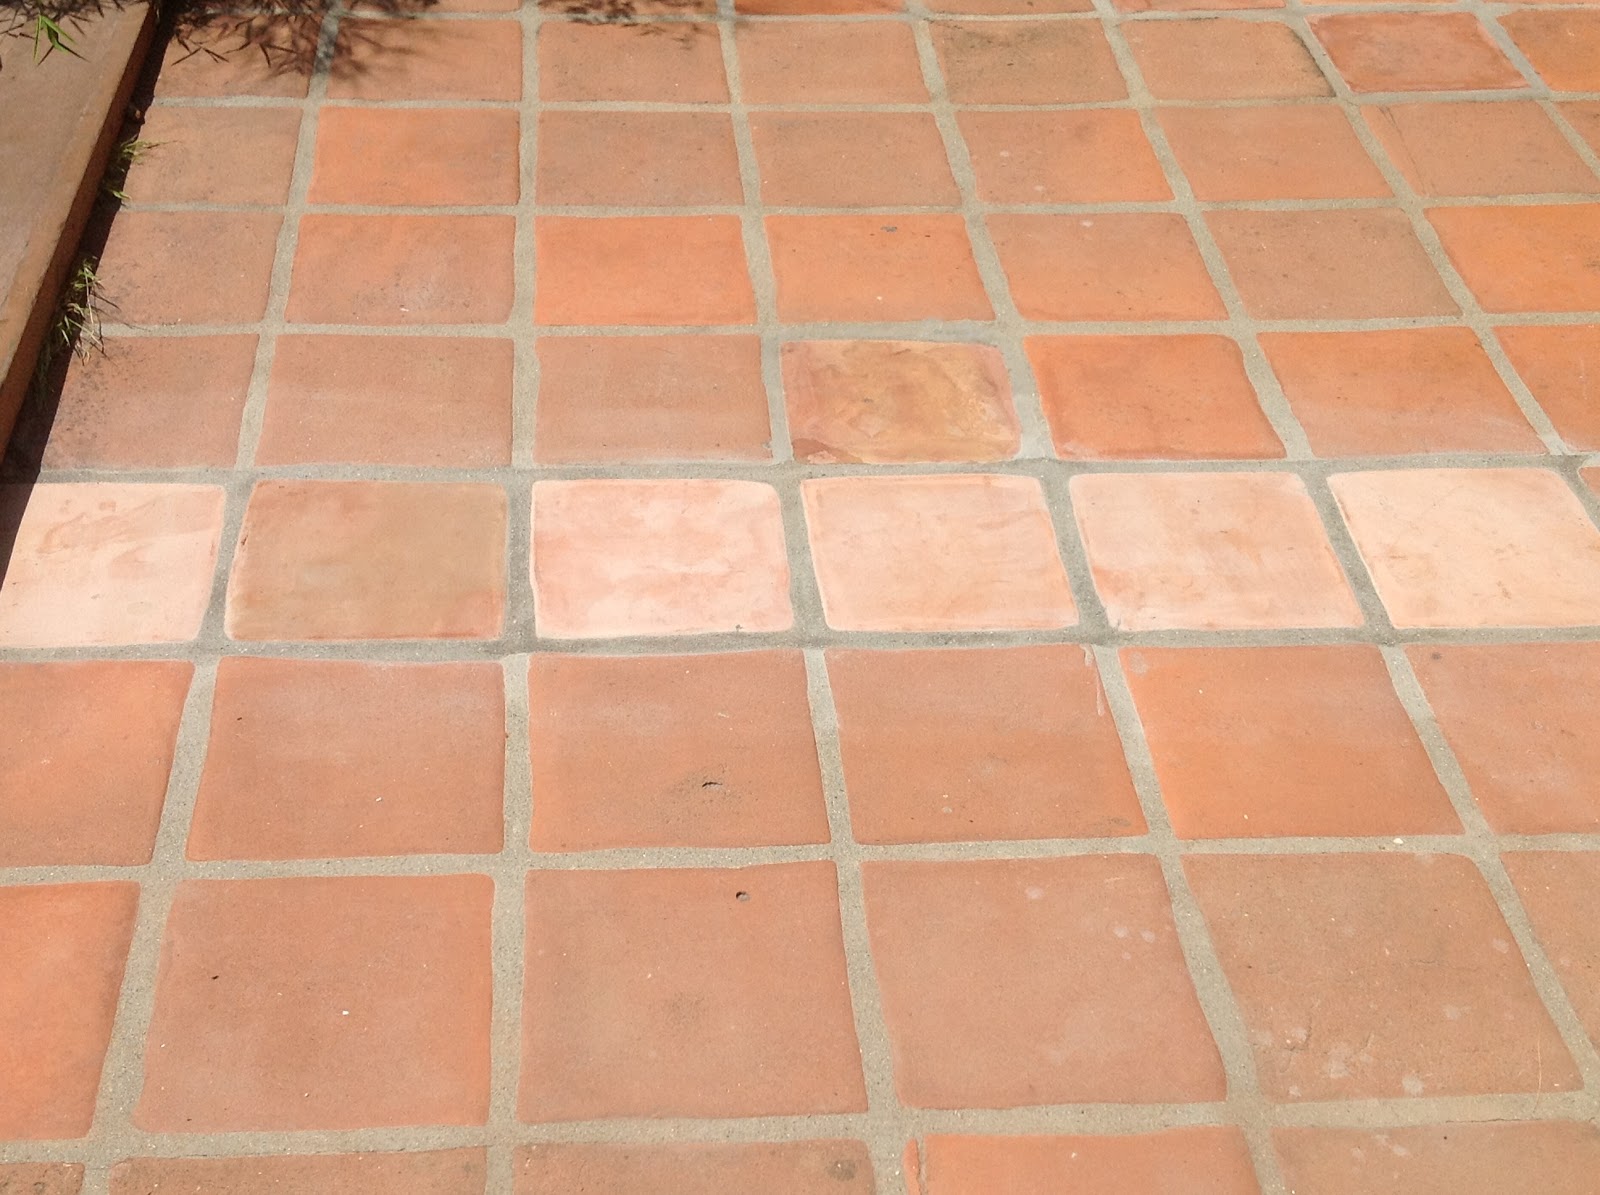
Stock photo
So we called the trusty faux painter and he got to work.

He did a sample for me and after some discussion we decided to go a little darker.
Here is a picture of the before....

Hee Haw...the floors had been covered up already but I just wanted the after to have more impact!

You likey?
Circa Lighting chandelier

New front door....with an arch.

Rocky Mountain hardware


We also added some wainscoting to the walls.
Here is the before of the outside...

And after with new door. The light fixture is original but we had it refurbished.

I found some other pictures of stained tile for you....


This shows some examples of what you can do with saltillo tiles....

This one is close to being done so I will be sharing furniture selection with you soon! So darn excited....
The other day my friend Jennifer who writes the blog Vreeland Road came to town for dinner and before we ate there was some fun to be had visiting some of my favorite Atlanta home design retail stores....

Swoox
Pieces
Boxwoods
Noah J. and Co
Huff Harrington
BD Jefferies
Ending with dinner at Le Bilboquet
#itwasadaydreamsaremadeof
Especially for 2 designers....
Have a fantastic weekend!
Freakshow


32 comments
We have this tile in our family room and I hate it! Do you know what he used to stain it? Would love a new look!
The tiles look aMAYYYYYzing! The project looks to be coming along beautifully. I love that you refurbished the exterior light! So charming over that beautiful front door!
What a difference, would you mind sharing the process it took to stain them. I have someone that needs to do this to their tile sooner than later! The light fixtures are killing me, the outdoor light is stunning!!!
Kathysue
What a wonderful transformation. And such an easy fix without having to rip out tile. The home is beautiful...
These floors are gorgeous! Such a great way to save existing floors. I would also love to know what was used in this process? Was it a paint or stain? And was a protective top coat used? Thank you in advance!
Hello - another person wanting to know how the floors were done! I love the look!
Who knew you could stain Saltillo tiles? You did! That's why you're a genius.
um. genius, sherry. seriously. you made those tiles look like a million bucks. i couldn't live with that carrot-y hue for a day either so clearly those tiles had it comin. thank you for taking me along on these design adventures and making it extra enjoyable with your colorful commentary. how i wish i could be your intern for a day. i would serve you my homemade limoncello on a silver tray and i imagine there would be regular peeing of pants. btw, have you heard of this saucy NY company ICONundies.com who make pee-proof underwear? i only wish i had thought of it first. peace.
That is insane.....I had no idea tile could be stained. Maybe because of they are clay they will take a stain? The end result is beautiful, and I love the foyer paper too. The exterior of the entry came out beautifully too Sherry!
Absolutely love what you did with that tile!!!
Who knew?! Wow, wow and wow!
Oh my goodness!!! You have truly outdone yourself this time!!!That tile went from shabby to shafabulous!!!
SHERRY......you are brilliant, please tell us how to stain the tiles!!
gorgeous work, again
debra
agreed...seriously need more info. Knew you could stain grout but not tile!
LOVE
I stained my kitchen floor tile like this 5 years ago and loved it -- but now it needs to be restained. The water in the kitchen, plus heavy foot traffic, has worn the finish off in places. I would recommend re-sealing this (yearly?) and it might have better staying power.
I can't get over the stained tiled- absolutely stunning Sherry, and the outdoor light...fabulous! You are amazing, my friend!
I have seen this done before. We have a concrete stain floor in Oklahoma City and they make a concrete stain that can be used on saltillo tiles. I think the key is you have to remove any sealant before you stain the tile so that they are porous and take the stain, then you can re-seal it with concrete sealer.
We’ve been stumbling around the internet and found your blog along the way.
We love your work! What a great corner of the internet :)
here
Has anyone ever tried to Aqua Seal products or did they just use a concrete stain?
I agree genius! And now I want to do this to my floor.
Hi
I love this! You've saved me a lot of$$$! I can't wait to do this can you tell me the name of the product you used to stain your tiles?
Thank you, Zoraida
beautiful! what color did you use?
Beautiful! Would you mind sharing the color stain you used for the tile? I am in Scottsdale, AZ and have tile guys coming. I would love to share the info with them if you dont mind sharing. Thank you and I love your work!!
I need information about how to paint saltillo tile. Please
What did the guy use to stain the tiles Darker?
Why is there no information on how this was done?
Just fyi...I bo no means had anything to do with the process these guys went through but I did attempt the stain prior to choosing an industrial epoxy (because I REALLY wanted all the orange gone and wanted to gain a true black...
But the initial prep and process is the same and there are actually a multitude of stain products that will work with santilli because, yes, it is much like concrete and other porous surfaces.
First step is to strip the floors with Muratic Acid (if you have a pool, you've probably got some handy).
CAUTION: Be gentle with this stuff- it will strip everything it comes into contact with - including baseboard and wall paint (ANY paint), will cause your pretty stainless appliances to rust, almost on contact and, although probably no need to mention it, do some major damage to skin, eyes, clothing, children, pets, furniture- pretty much anything you love that isn't made of concrete or saltillo.
The idea is to strip not only strip the floors of any previous sealers, waxes or protective coatings but to clean the living bejesus out of it so you can have a clean surface with open pores to absorb the stain (OR a clean surface to apply a water or oil based epoxy process).
Literally mop your floors like you were just cleaning (except this time make sure you ditch the French maid outfit and wear the weekend hazmat suit).
Mop as many times as you think necessary (you can tell when the gunk is gone), allow to dry thoroughly (MOST IMPORTANT IF YOU ARE GOING TO PROCEED WITH ANY OIL BASED PRODUCT)
If you are going to again- you can get a multitude of concrete stain colors from your local home depot, sherwin Williams, etc. (generally intended for concrete) or you can find some amazing products online.
Better yet, venture out to some hidden gems I'm sure are neat you but you never knew about- concrete specialty stores that will carry every color and variance of stain (and will also generally come with a whole lot of know how to help you in your project).
Buy sample sizes if possible. I tried at least 6 stains and even with repeated applications (even black), I wasn't satisfied with the color.
BUT, if you still want the warm undertones of gold and brown, you will love the look.
Be sure to see the color wet and re-wet it to see what it will look like when it's ultimately sealed (whether matte, satin, gloss or high gloss) and allow you to see the deepest depth (I think that's an accurate way to say that but sounds like I just repeated myself). I personally wanted the DEEPEST DEPTH of color - which was honestly just black. Regardless, for you to see the end-color, you need to see it wet.
how has this held up? Any spots of wear?
Looks great! Would love to know the staining products used and if you know someone in CT that does this work.? You are super talented!
Thanks for the informative content! It’s always helpful to read such well-written posts. I also found a useful site called Creative Building BD that provides excellent services in building design and epoxy flooring—worth checking out!
The transformation of those "too orange" Saltillo tiles is incredible! It really grounds the foyer's classic look. When planning a high-end renovation, choosing the right material is vital—much like the types of tile we install to ensure a timeless aesthetic for our clients.
Post a Comment